China Visa Online Application (COVA) Guide 2025–2026
China Visa Online Application (COVA) Guide 2025–2026
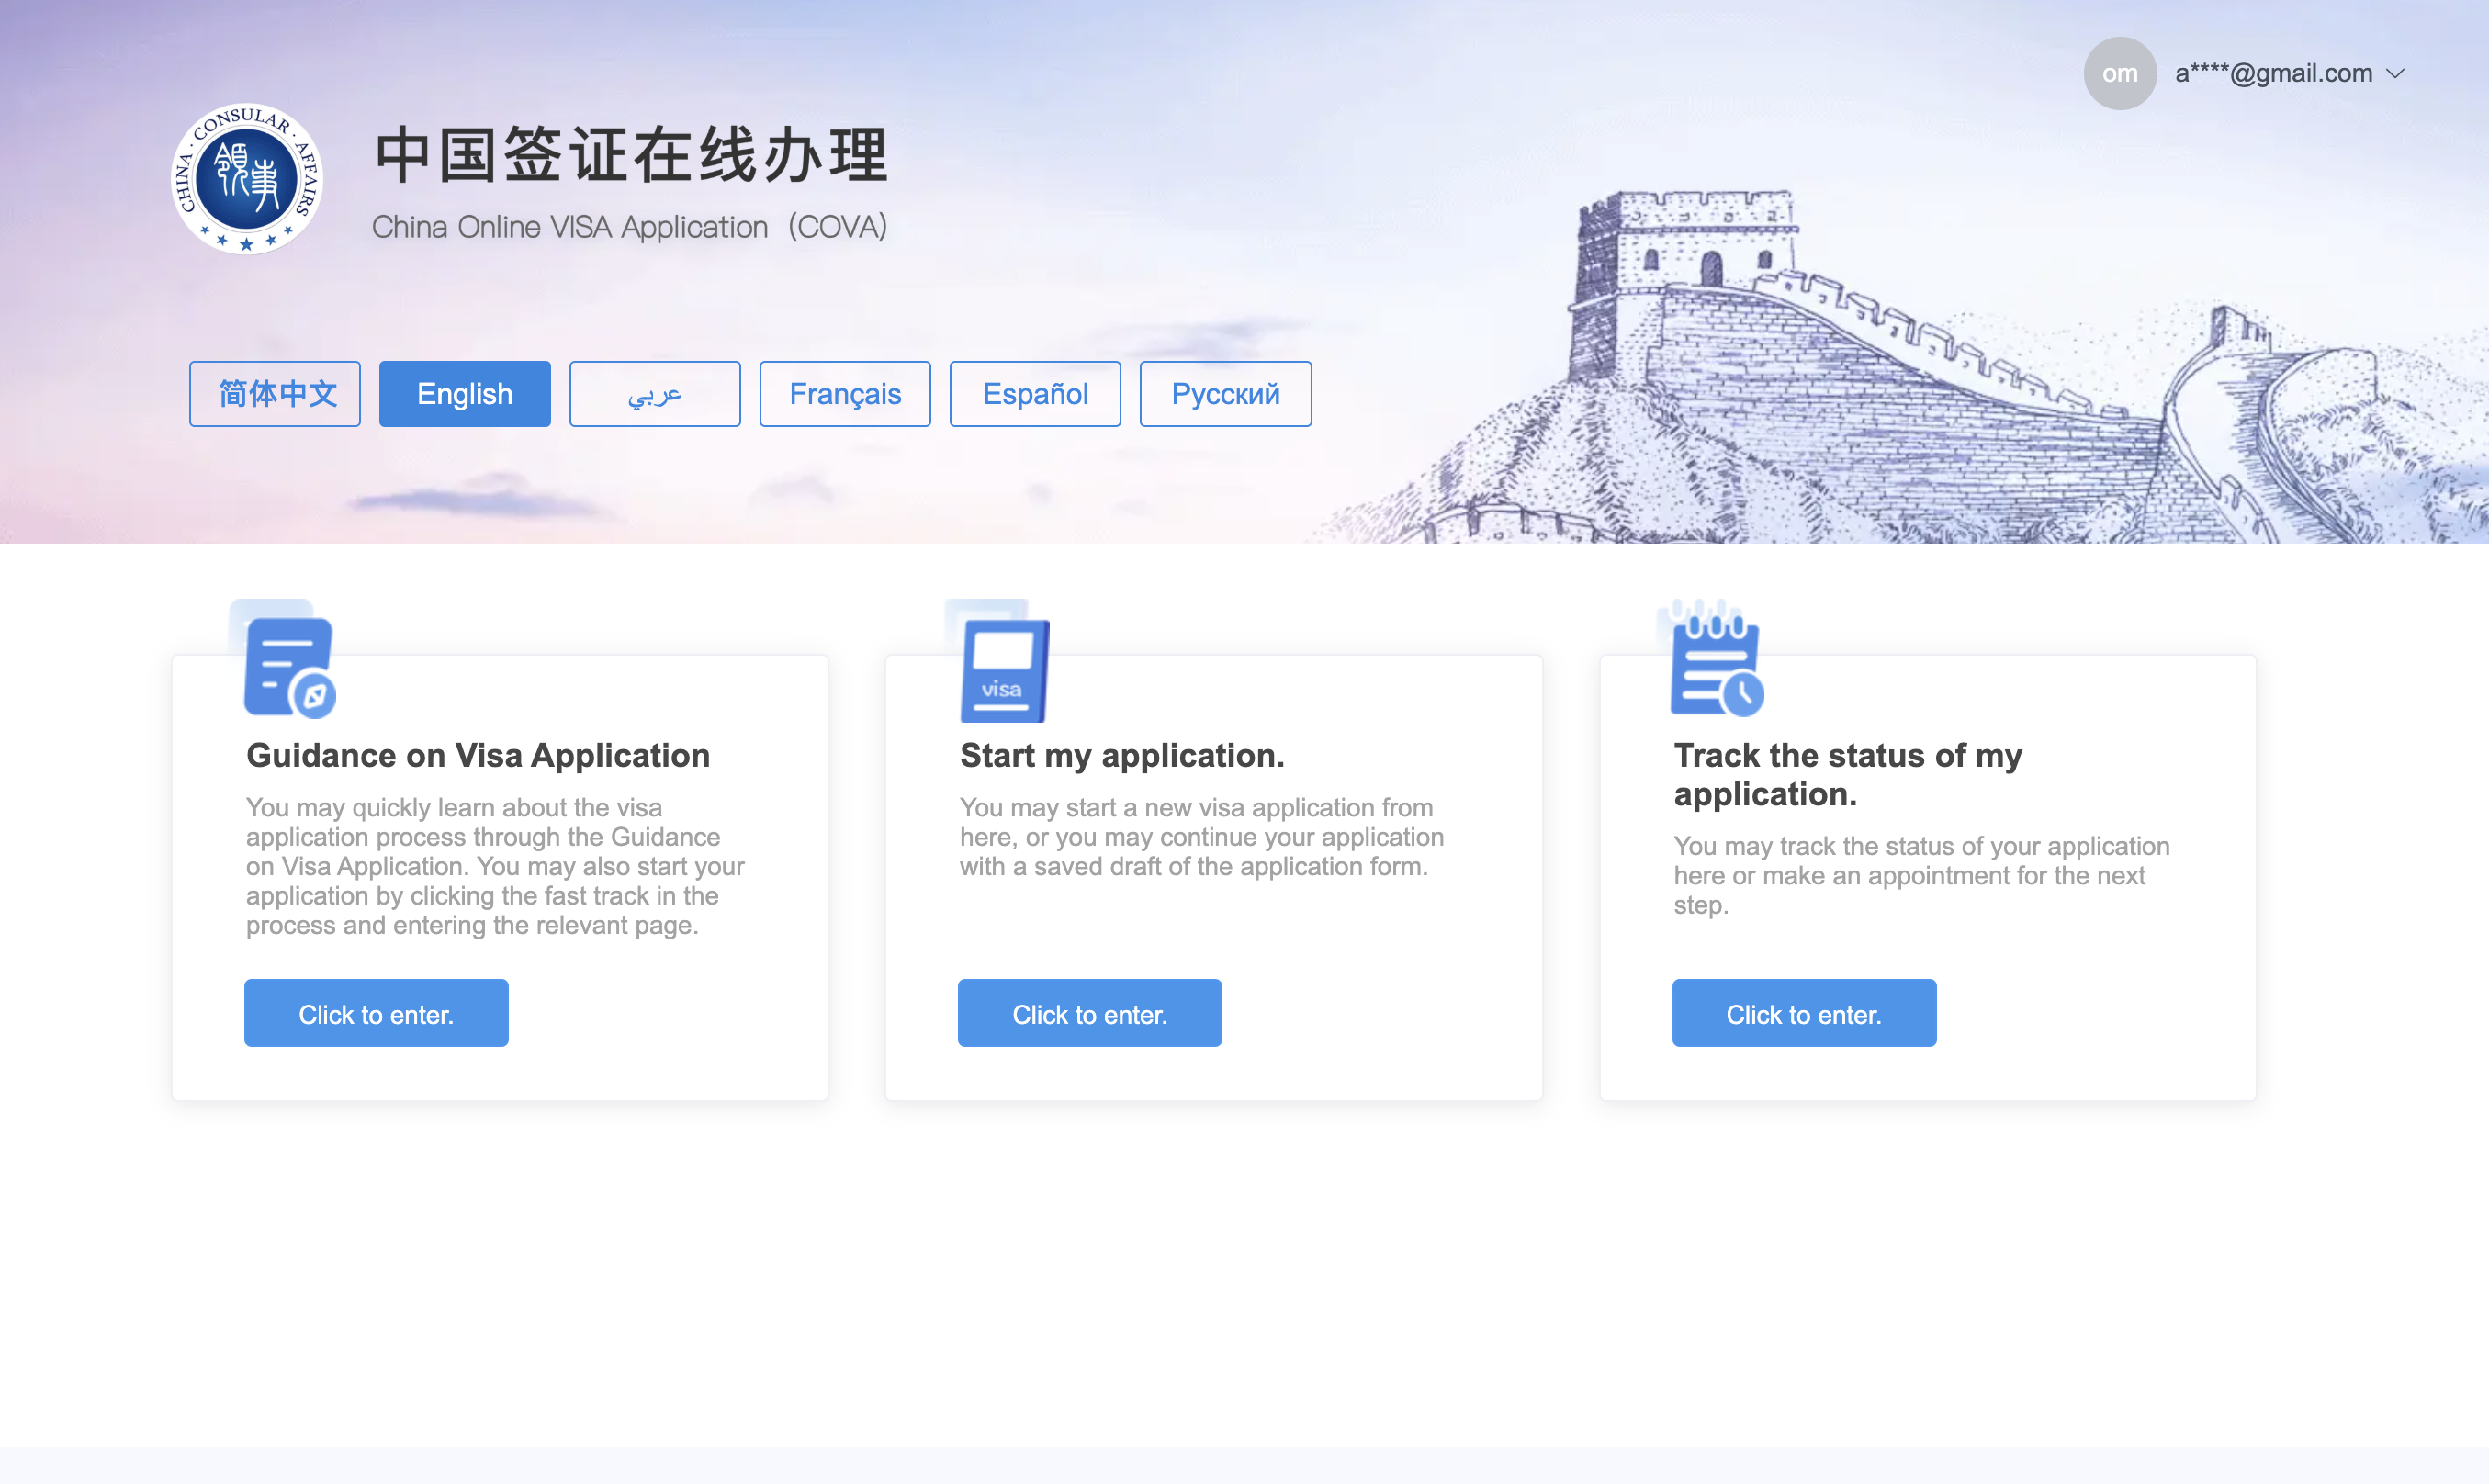
Step 1: Start Your Application
- Go to the official COVA website and switch to English.
- Click Start my application.
- Choose your region (e.g., North America) and visa office (San Francisco, Los Angeles, New York, or Washington D.C.).
- Log in if you have an account, or register a new one:
- Provide your email and password
- Enter the verification code sent to your email
📍 Tip: Use a valid email — your Application ID, updates, and appointment info are sent there.
Step 2: Fill Out the Form
- Read the Guidelines carefully.
- Complete the form in English or Chinese.
- Applications are valid for 90 days of entry.
- No edits allowed after submission.
Click “Start filling in the form” to continue.
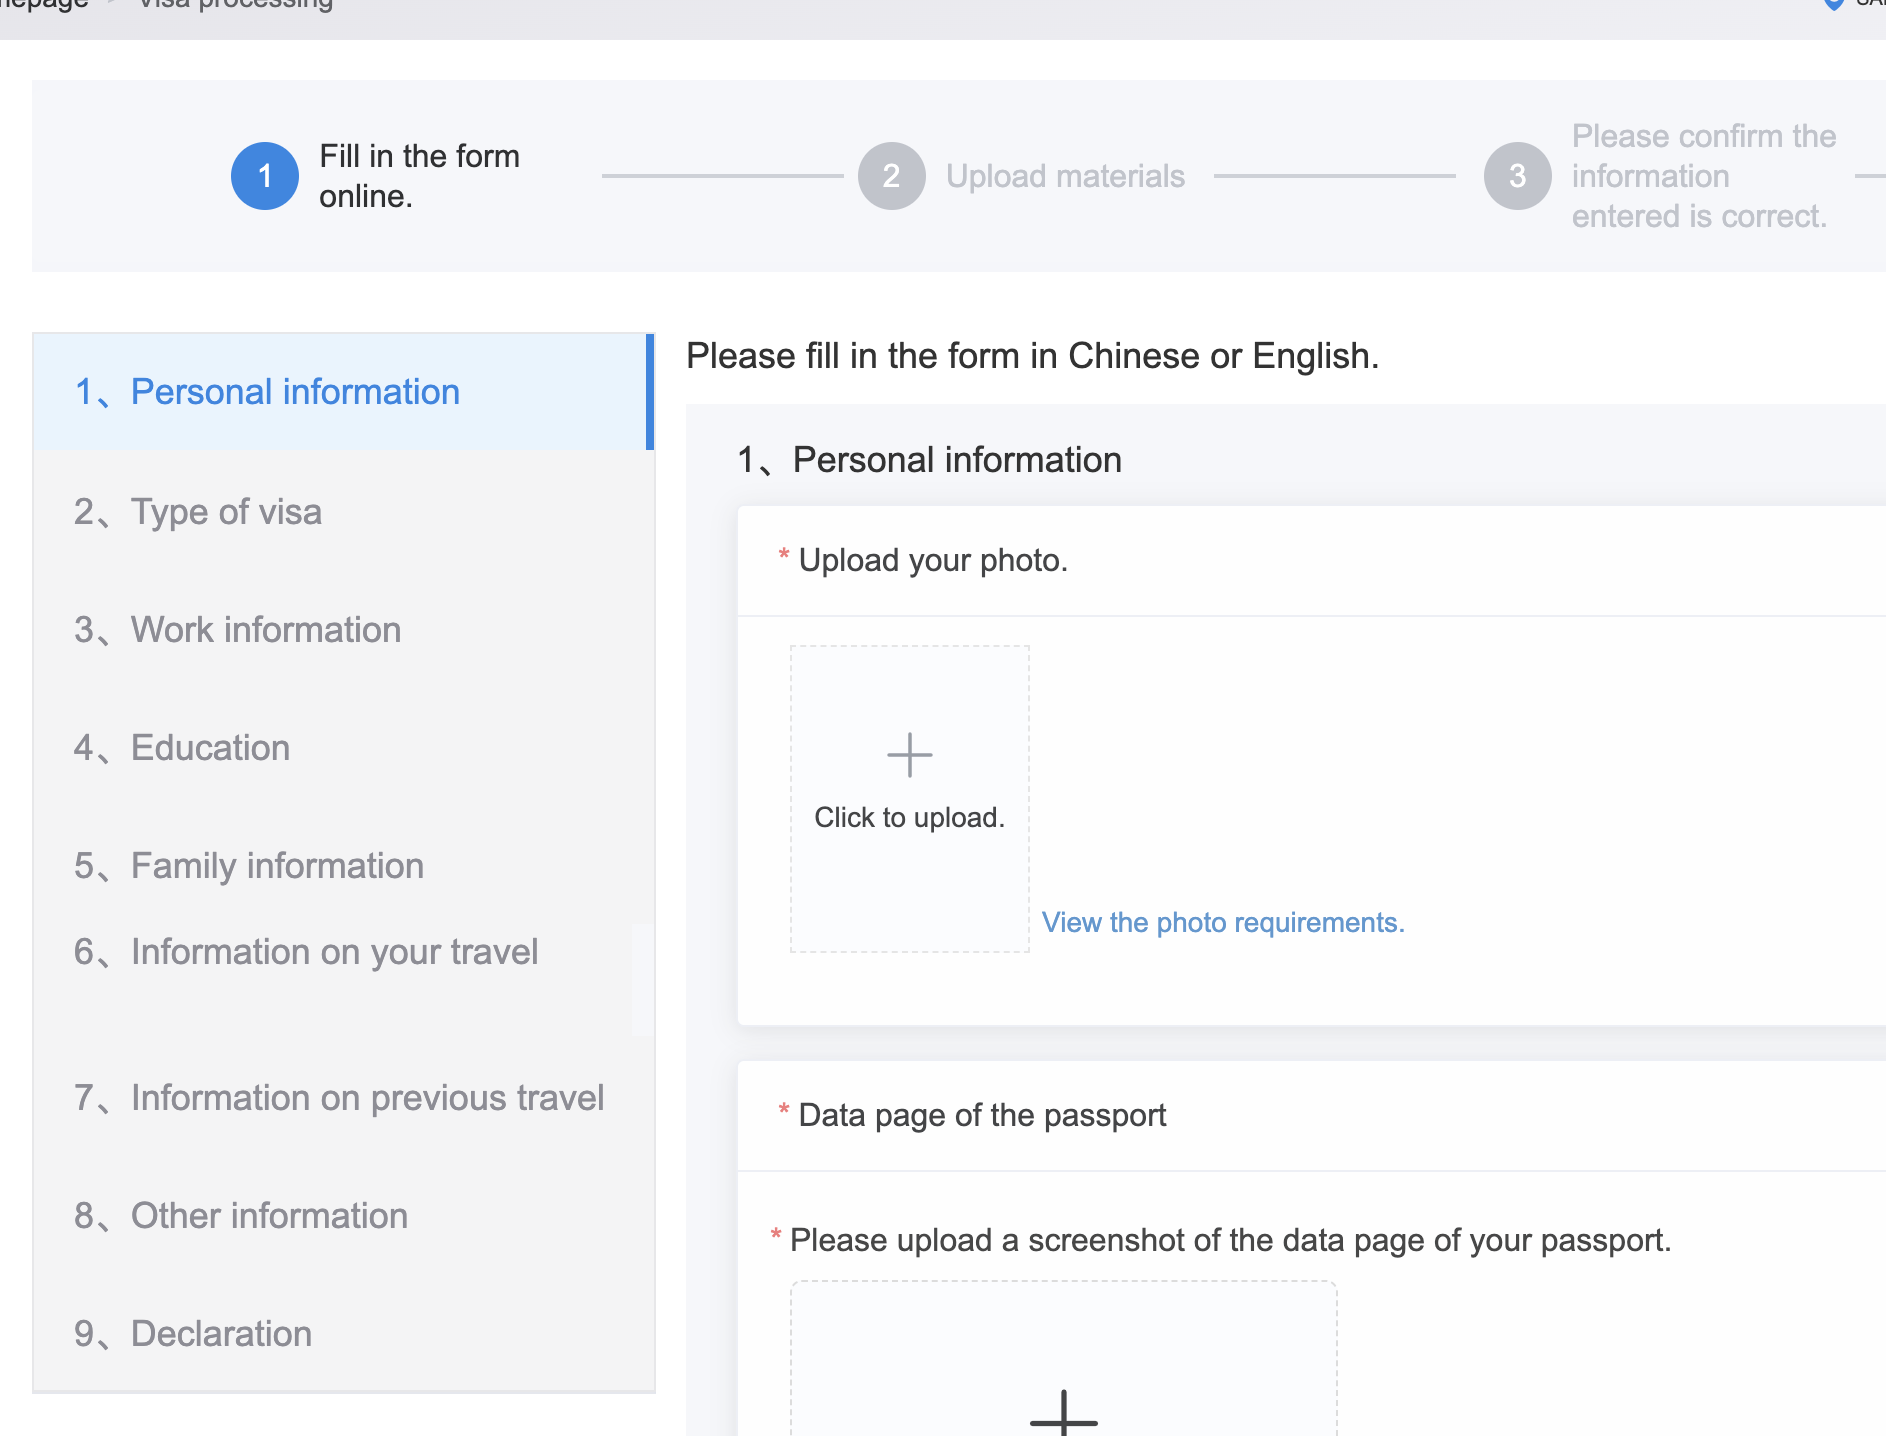
Step 3: Upload and Adjust Your Photo
You will need a compliant photo for your COVA application. This tool generates perfect photo in seconds and can help you to make it compliant
Typical issue - you will wee the error message
Your photo should be taken in full-face view. Please re-upload a photo that meets the requirements.
To resolve this problem just use this photo tool.
Photo Requirements:
- Size: 33 × 48 mm
- Format: JPEG (354–420 × 472–560 px, 40–120 KB)
- Background: Plain white
- Face: Forward-facing, both ears visible, neutral expression
Adjust Photo:
- Use the zoom slider to fit your face inside the guides
- Drag the photo to center it
- Rotate if needed
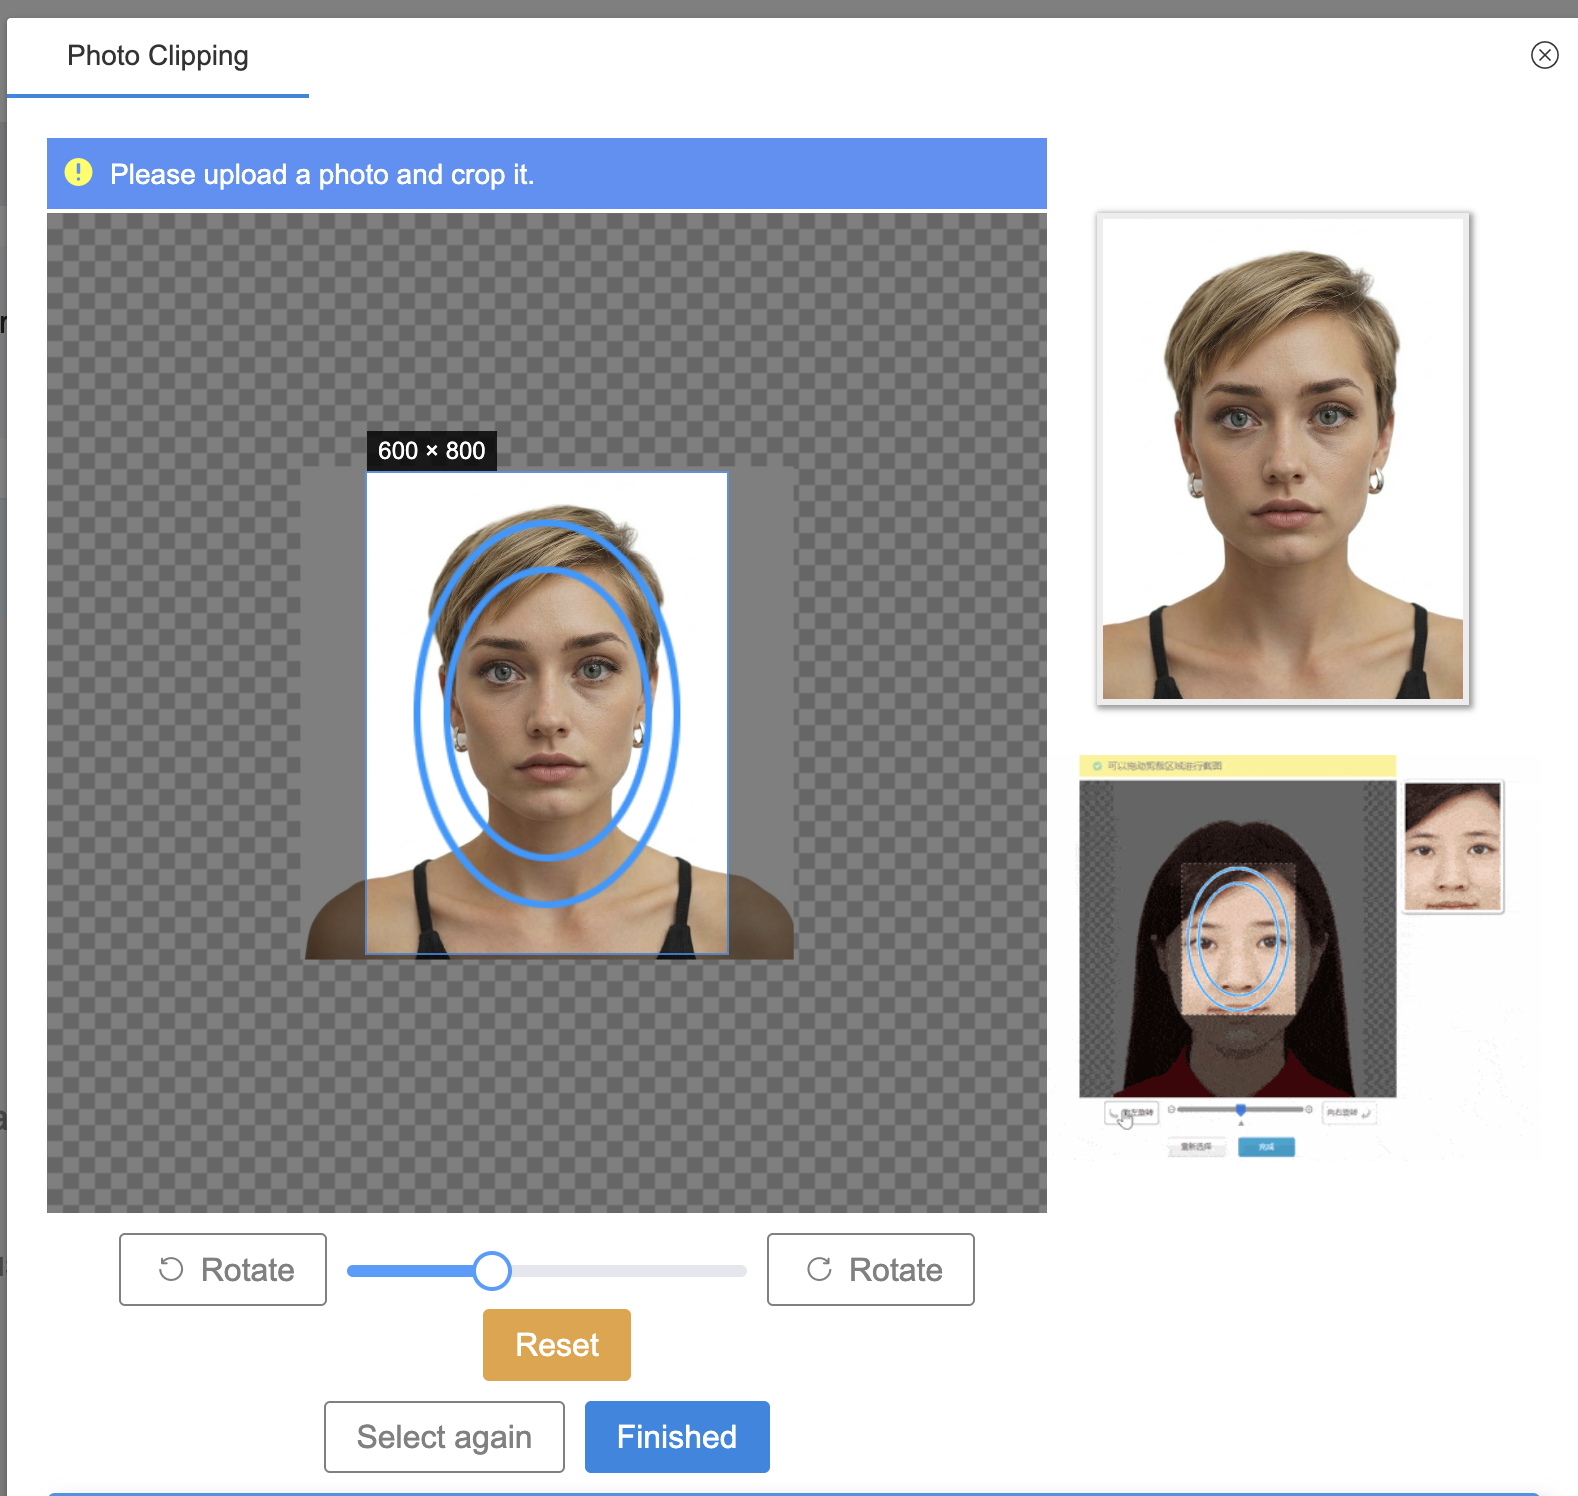
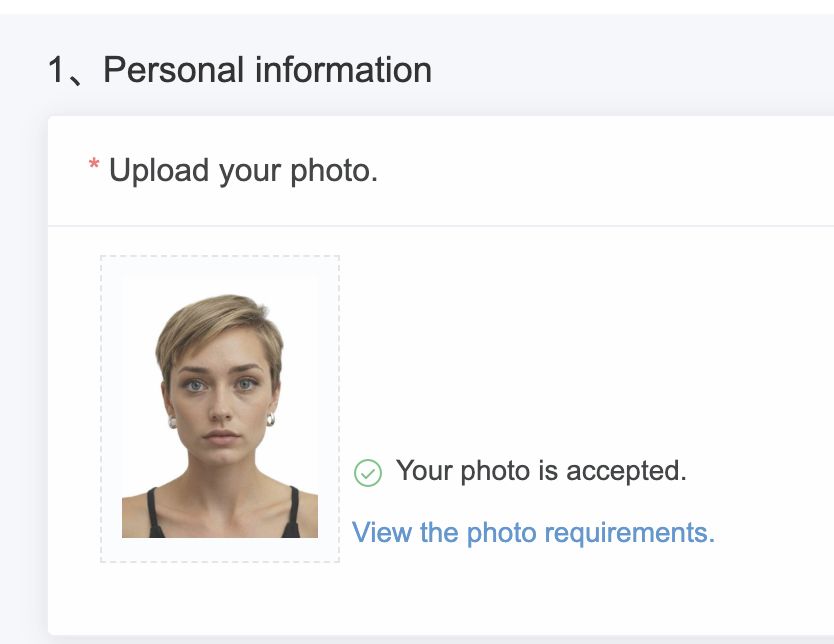
Click “Finished”. A green check confirms “Your photo is accepted”.
Note: Occasionally, the system may display “photo check failed” even for compliant photos — this is a known bug. You can proceed; consular staff will review manually.
Step 4: Submit and Next Steps
Once the form is complete:
- Online review: Consular staff check your submission. If corrections are needed, your status will show “Rejected and to be modified.” Resubmit within 30 days.
- Passport submission: After approval, your status updates to “Passport to be submitted.” Bring your passport, printed application page, and required documents to the visa office.
- Additional checks: The consulate may request an interview or extra documents.
- Visa issuance: Once approved, the visa is affixed to your passport.
⚠️ Submitting the online form does not guarantee approval — final decision is by the Embassy or Consulate.
Step 5: Quick Pre-Submission Checklist ✅
- Complete all sections
- Upload photo and supporting documents
- Confirm all details — no edits allowed after submission
- Prepare passport and confirmation page for the visa office